If your roof has reached the end of its life or sustained significant damage, re-roofing becomes essential to protect your home. Understanding what to expect during the re-roofing process can help you prepare, avoid stress, and ensure the project runs smoothly. Here’s a step-by-step breakdown of what happens during re-roofing and how to get ready for it.
1. Initial Inspection and Estimate
Before the work begins, a roofing contractor will inspect your current roof to assess its condition. They’ll check for:
- Structural damage
- Leaks
- Rot or mold
- Condition of shingles or tiles
After the inspection, you’ll receive a detailed estimate outlining the costs, timeline, and materials required. This is also the time to ask questions and ensure the roofer is licensed and insured.
2. Material Selection and Scheduling
Once the contract is signed, you’ll choose your roofing materials. Options include:
- Asphalt shingles (affordable and durable)
- Metal roofing (long-lasting and energy-efficient)
- Clay or slate tiles (aesthetic and durable but heavier)
Next, the contractor schedules the job based on material availability and weather conditions. You’ll be given a start date and estimated completion date.
3. Preparing Your Property
Before the work starts, prepare your home and yard:
- Move vehicles away from the driveway.
- Take down wall decorations to prevent vibration damage.
- Cover valuables in the attic to protect from falling debris or dust.
- Inform neighbors about the upcoming noise and activity.
Some contractors may also place tarps around your home to catch falling debris and protect your landscaping.
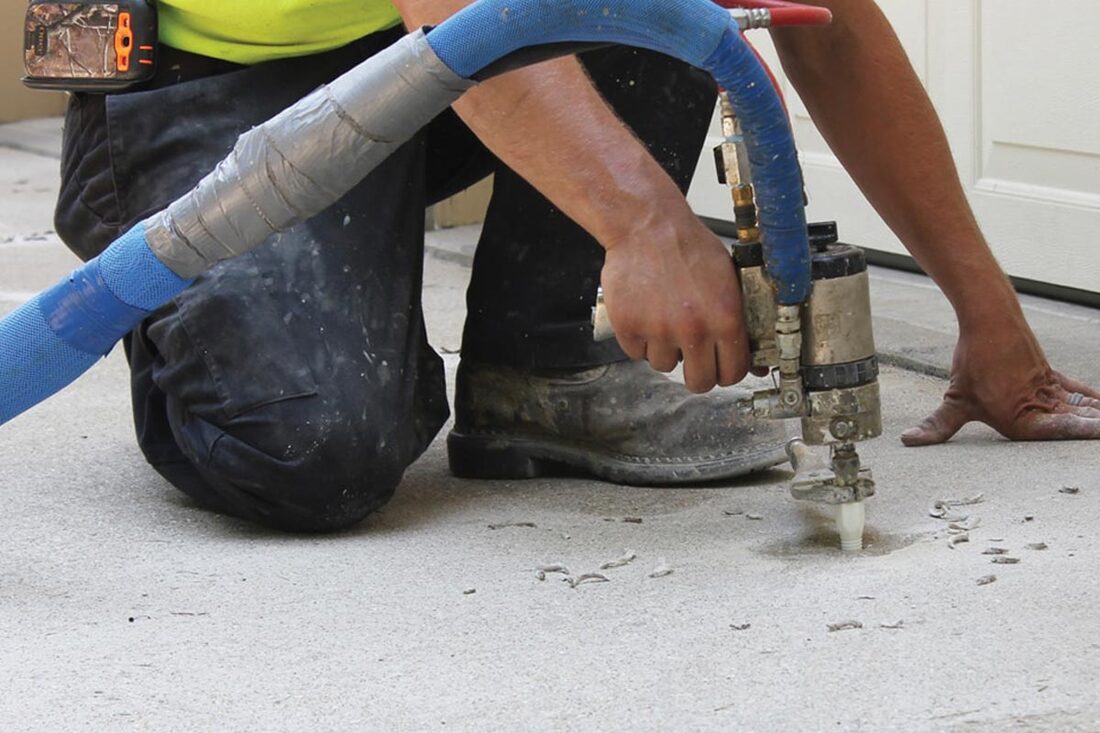
4. Old Roof Removal
On day one, the crew will remove the old shingles or roofing materials. This part is noisy and messy, as workers use tools like tear-off shovels to strip away the existing roof. They’ll also inspect the underlying roof deck for rot or water damage and replace any damaged sections.
5. Deck Preparation and Repairs
After the old materials are removed, the team will:
- Repair or replace damaged wood decking
- Install underlayment for water resistance
- Add drip edges and flashing to prevent leaks
- Ensure ventilation is adequate
This preparation is crucial to the durability and effectiveness of your new roof.
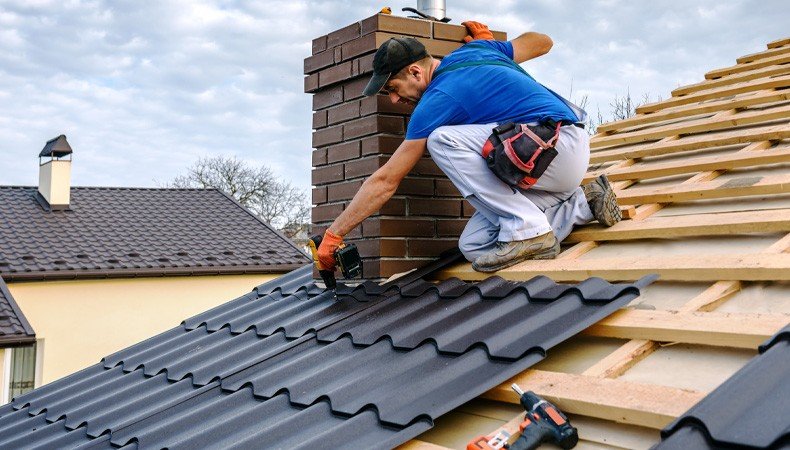
6. Installation of the New Roof
Once everything is prepped, the new roofing materials are installed. This step can take anywhere from 1 to 5 days depending on:
- Roof size and slope
- Weather conditions
- Material type
Roofers will install shingles, seal joints, and ensure all components are properly aligned and secure.
7. Final Cleanup
A good roofing crew will clean up thoroughly after the job:
- Removing debris from the yard
- Sweeping for nails using magnetic tools
- Hauling away old materials
- Reinstalling any detached fixtures like gutters or satellite dishes
You’ll be asked to do a final walk-through to ensure satisfaction with the completed work.
8. Inspection and Warranty Information
The contractor or a local inspector may perform a final inspection to ensure the installation meets local building codes. The contractor should also provide:
- A workmanship warranty
- Manufacturer’s warranty on materials
- Maintenance tips and documentation
Keep these records for future reference or in case of any future roof-related claims.
9. Post-Roofing Considerations
Even after the job is done, you may notice:
- A slight shingle smell for a few days
- Settling sounds as materials adjust to weather
- The need to prune back branches or clean nearby gutters
Stay in touch with your roofer for any follow-up concerns.
Final Thoughts
Re-roofing is a significant investment, but understanding each stage helps you stay informed and prepared. From inspection and planning to final cleanup and warranty details, knowing what to expect ensures a hassle-free experience. Always work with a trusted, experienced roofing contractor to guarantee your new roof is built to last.
Need a new roof?
Don’t wait for leaks and damage to worsen—schedule a roof inspection today and find the right re-roofing solution for your home.